How to create Component Library
Help UKRAINE
 ! Your action matters! Donate
to support Ukrainian Army! Donate to charity funds!
Organize/join street protests in your city to support Ukraine and condemn Russian aggression!
Expose and report Russian disinformation! #StandWithUkraine
! Your action matters! Donate
to support Ukrainian Army! Donate to charity funds!
Organize/join street protests in your city to support Ukraine and condemn Russian aggression!
Expose and report Russian disinformation! #StandWithUkraine Introduction
One of the interesting thing that I noticed when Microsoft released their docs for April wave 2020 was Component Libraries (check here). Ability to create, group and share Custom Componentes looks really promising. And now if you enabled preview you can try them out.
How to create Component Library
Open Maker Portal (make.powerapps.com) and navigate to Apps section. Previously the only tab you would see there was Apps. Now there is a new one - Component Libraries.
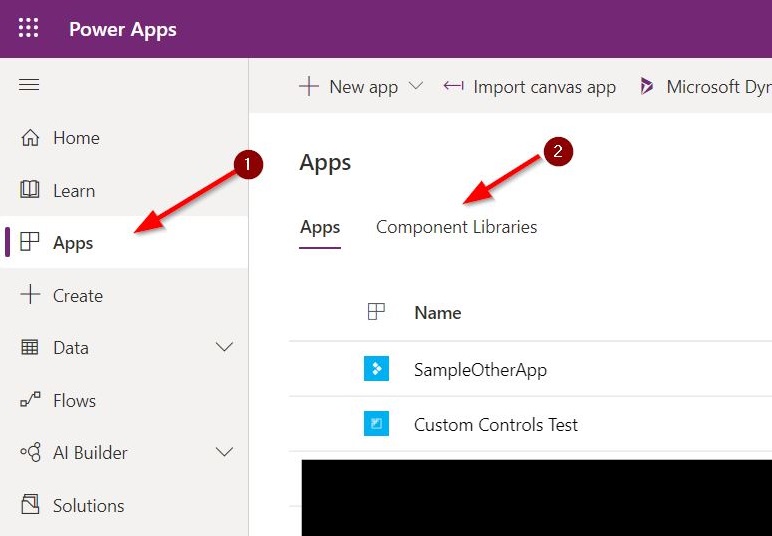
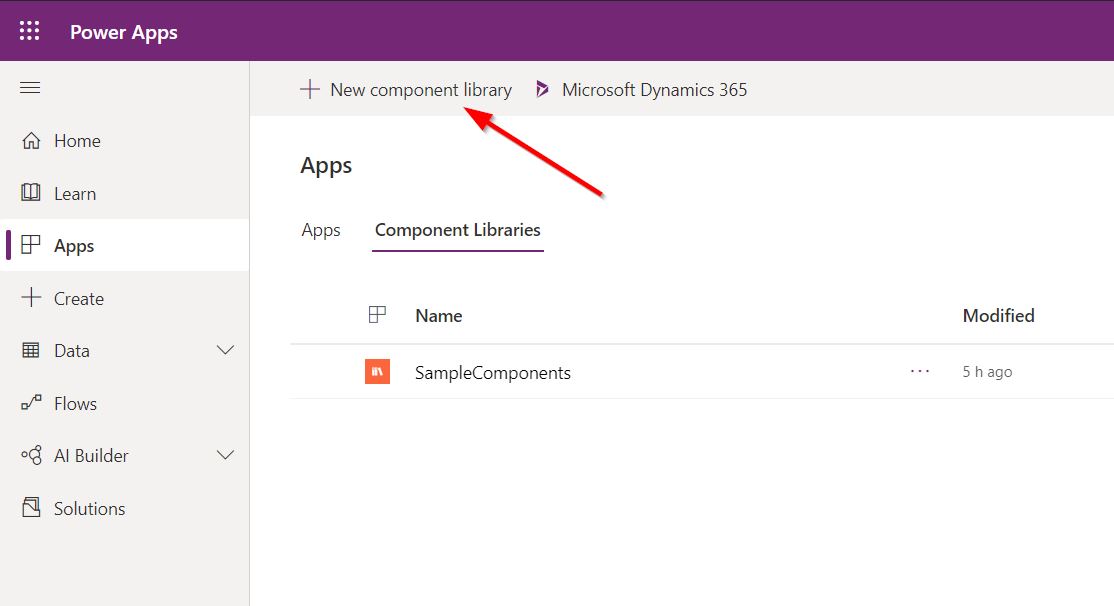
There you will see a list of Component Libraries available for you. You can edit them or create a new one (using the New component library button at the top of the toolbar).
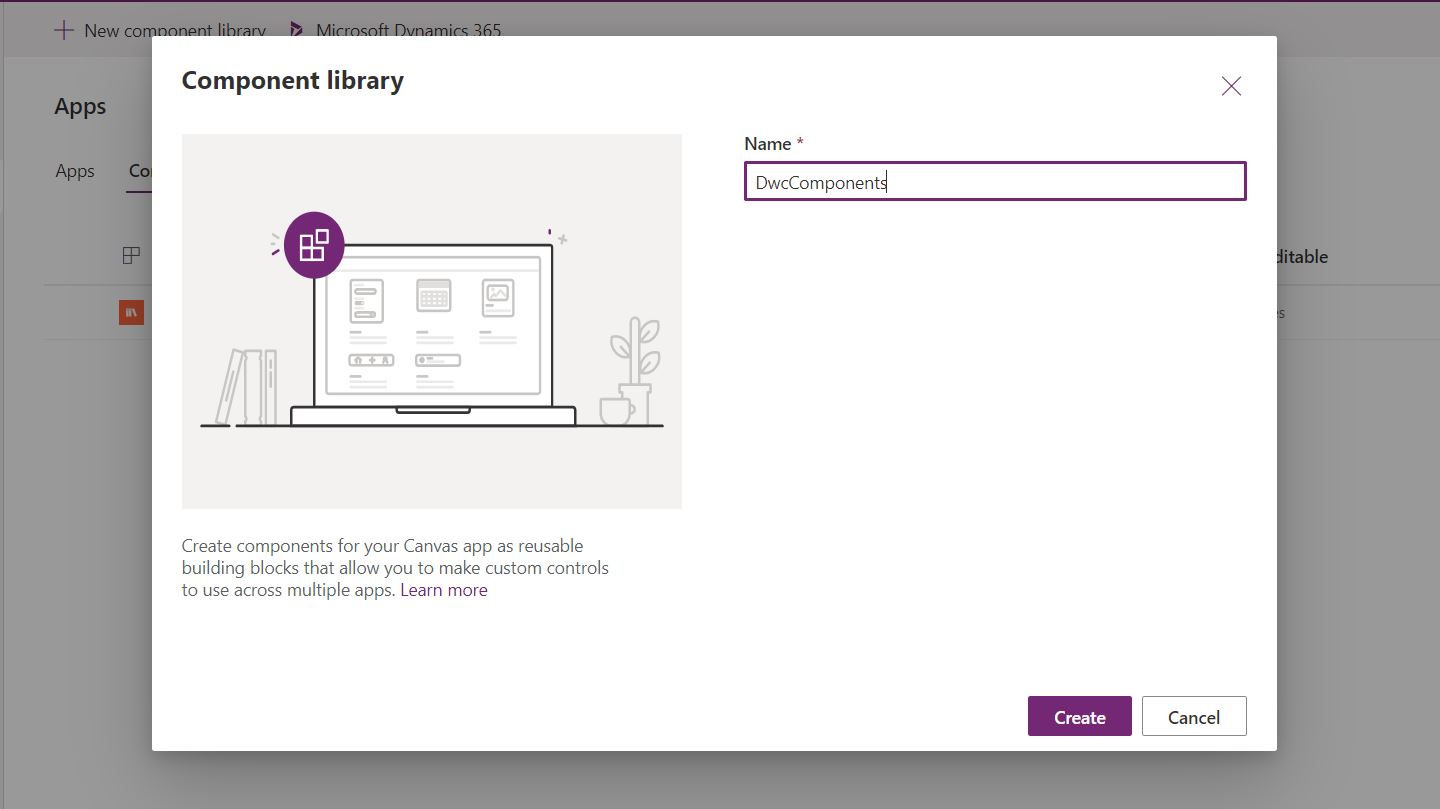
Pressing New component library open dialog window where you can type the name of your library.
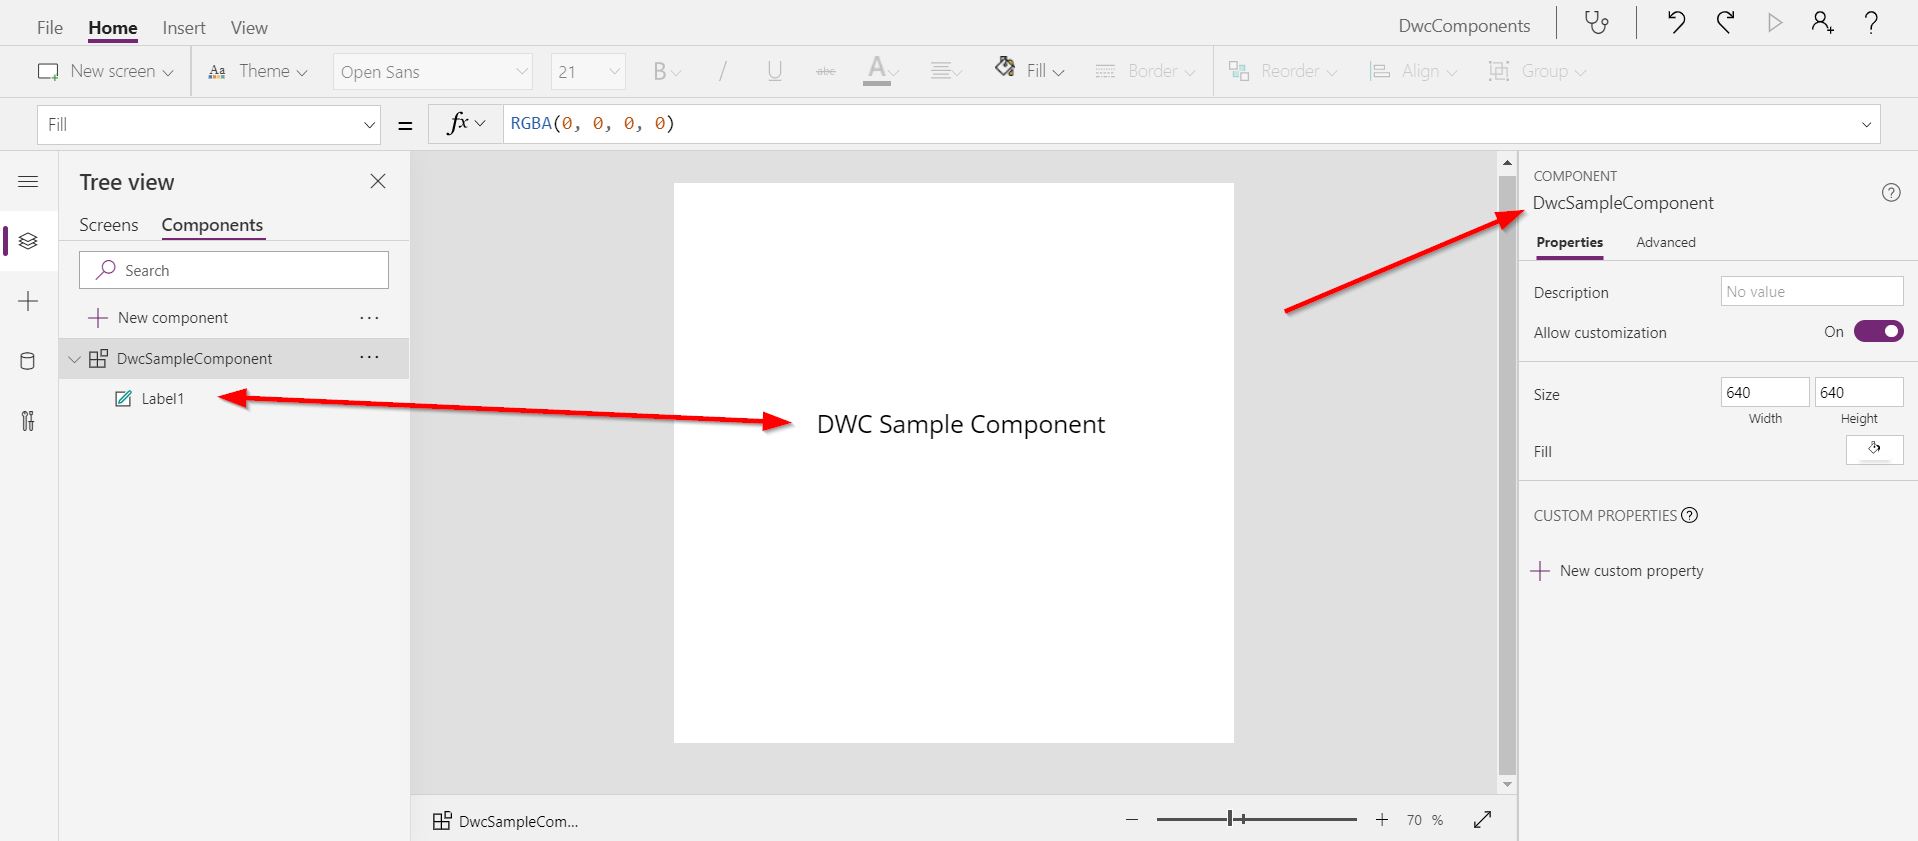
After that, it will redirect you to a page that you see when creating a Canvas App. Here you can select template and layout. As we are creating Component Library I am selecting Phone layout and Blank app.
When app finished loading you can see that it automatically creates new Component and opens it for you to change and edit.

In this example, I am renaming component and adding a simple label with sample text.
After you finish creating your component you can just save it as a regular canvas app.
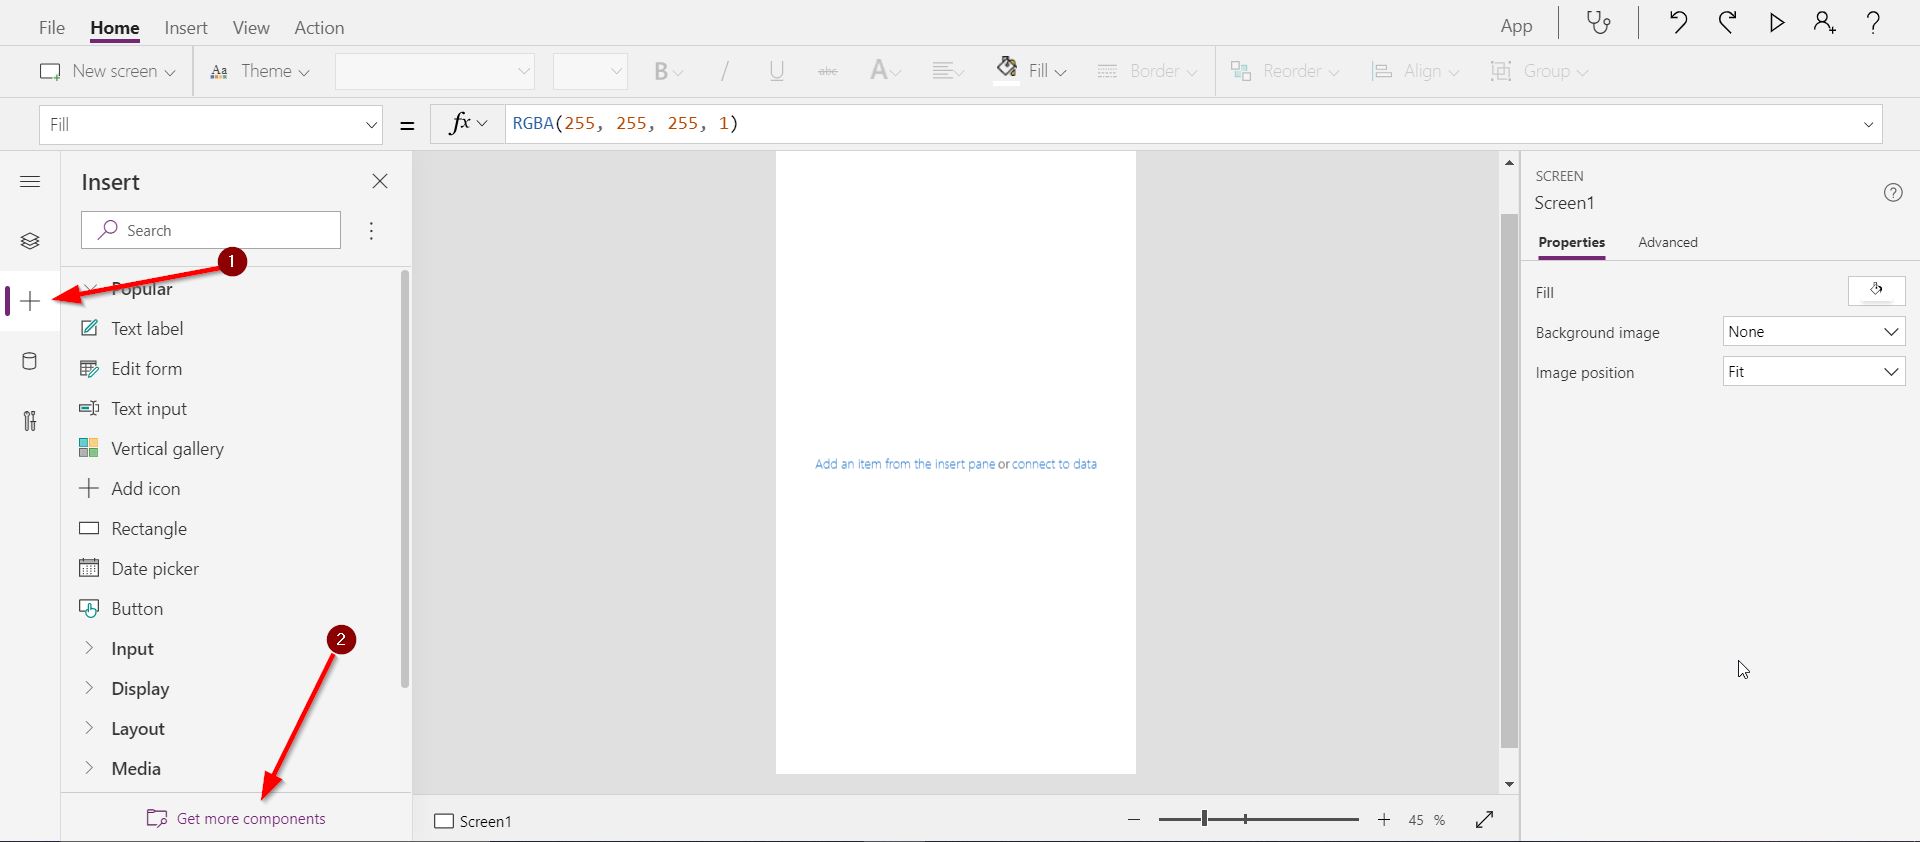
Now let’s create a new app to check if our component library worked.
In the newly created app, you can select Insert pane. At the bottom of the pane, you can see a button called Get more components.
When you press it Import components pane will open. There you will be able to select your existing library and which exactly components you would like to import.
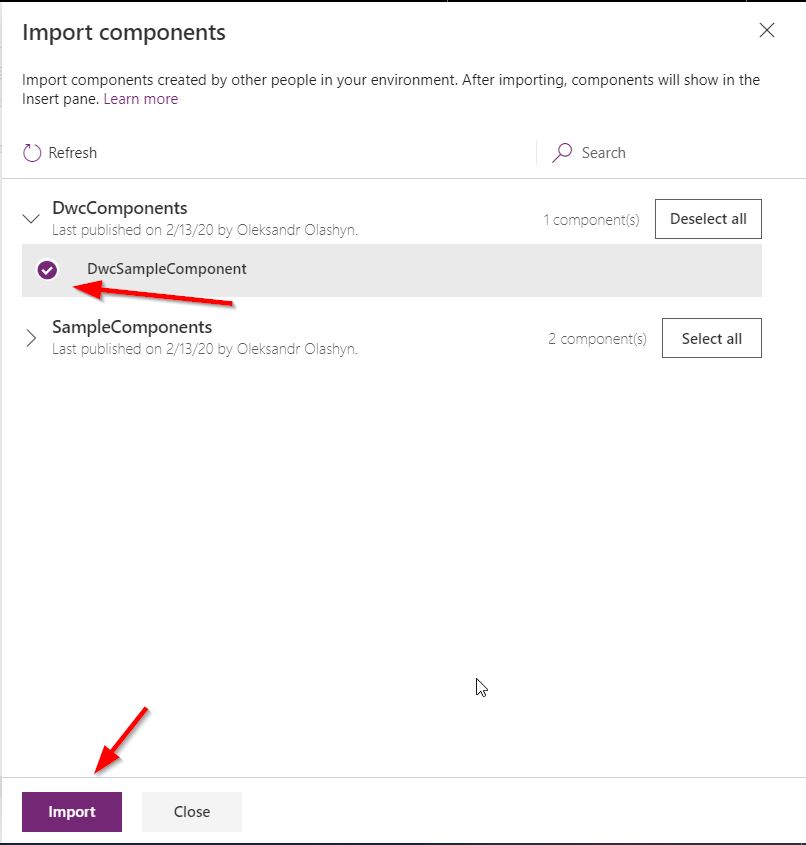
After you press Import button your components will be available in your app. You can find them in Insert pane under Library components section (which will appear only after you import your components).
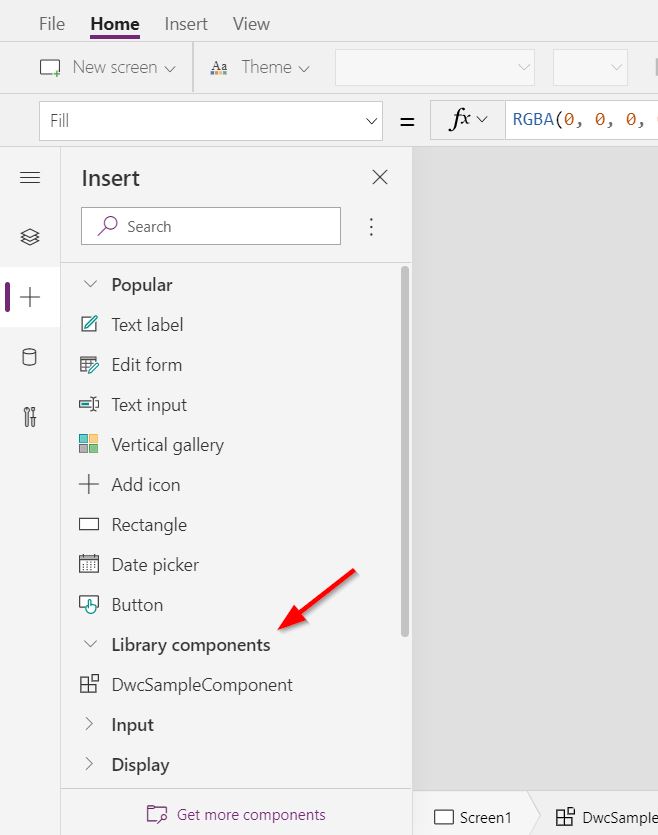
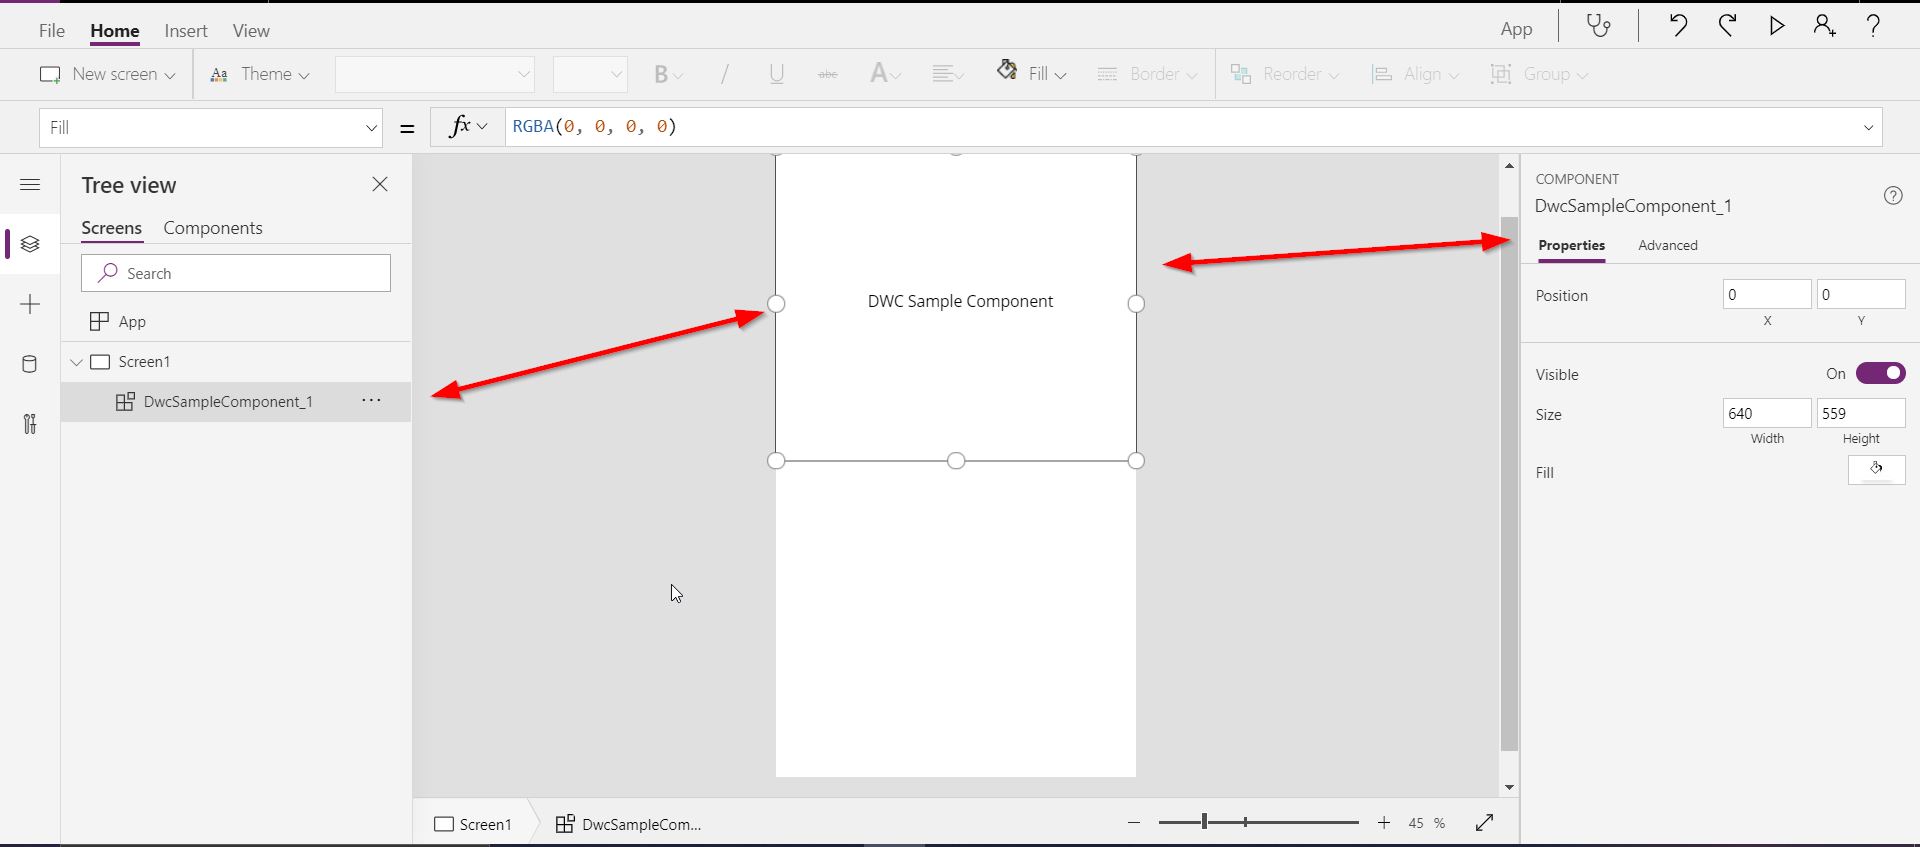
Then you can easily add your component as any other component.
Add existing components to the library
But what if you already created a lot of Custom Components in different apps and would like to bundle them as a library? Well, you can just import them to the library.
Create a new library or open an existing one. In the editor press on 3 dots on New component button. There select Import component.
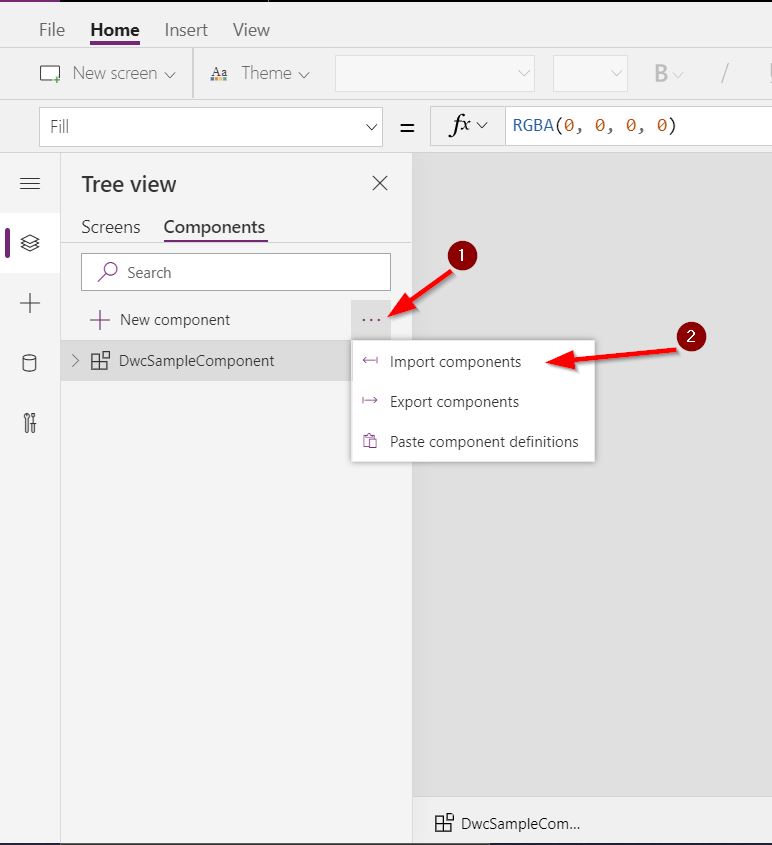
It will open Import component pane. There just select your Canvas app that contains your components.
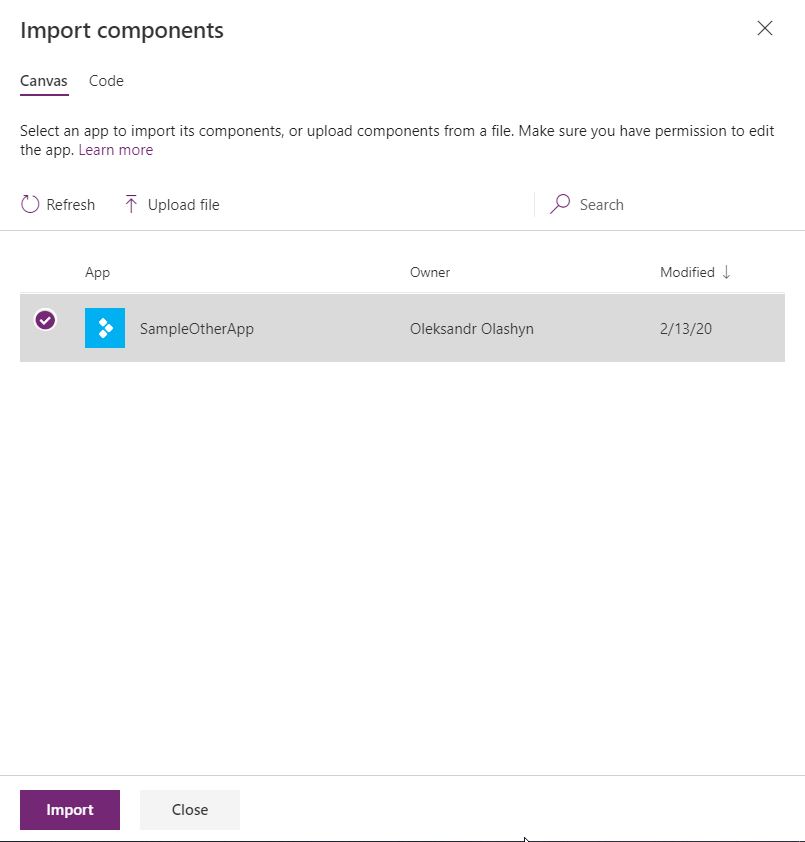
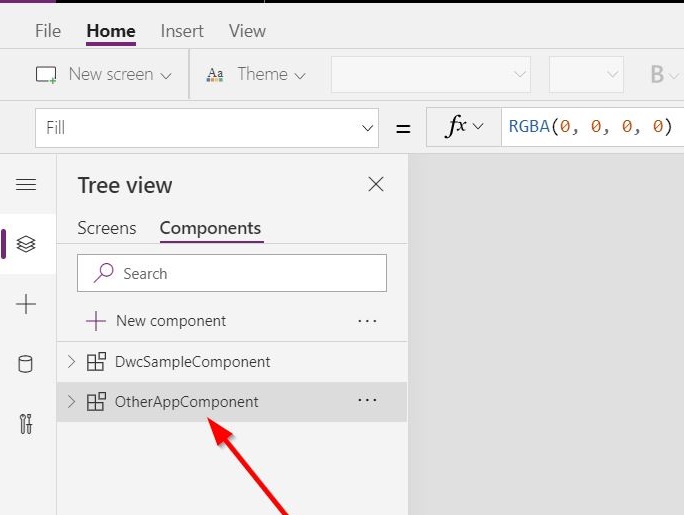
After import will be finished you will be able to see your components under the Components section.
Conclusion
Creating components libraries will greatly improve maker experience and will help to maintain them in one place. It is great that Microsoft makes the process of their creation easy and straightforward. I hope that soon we will hear about the same thing for PCF.